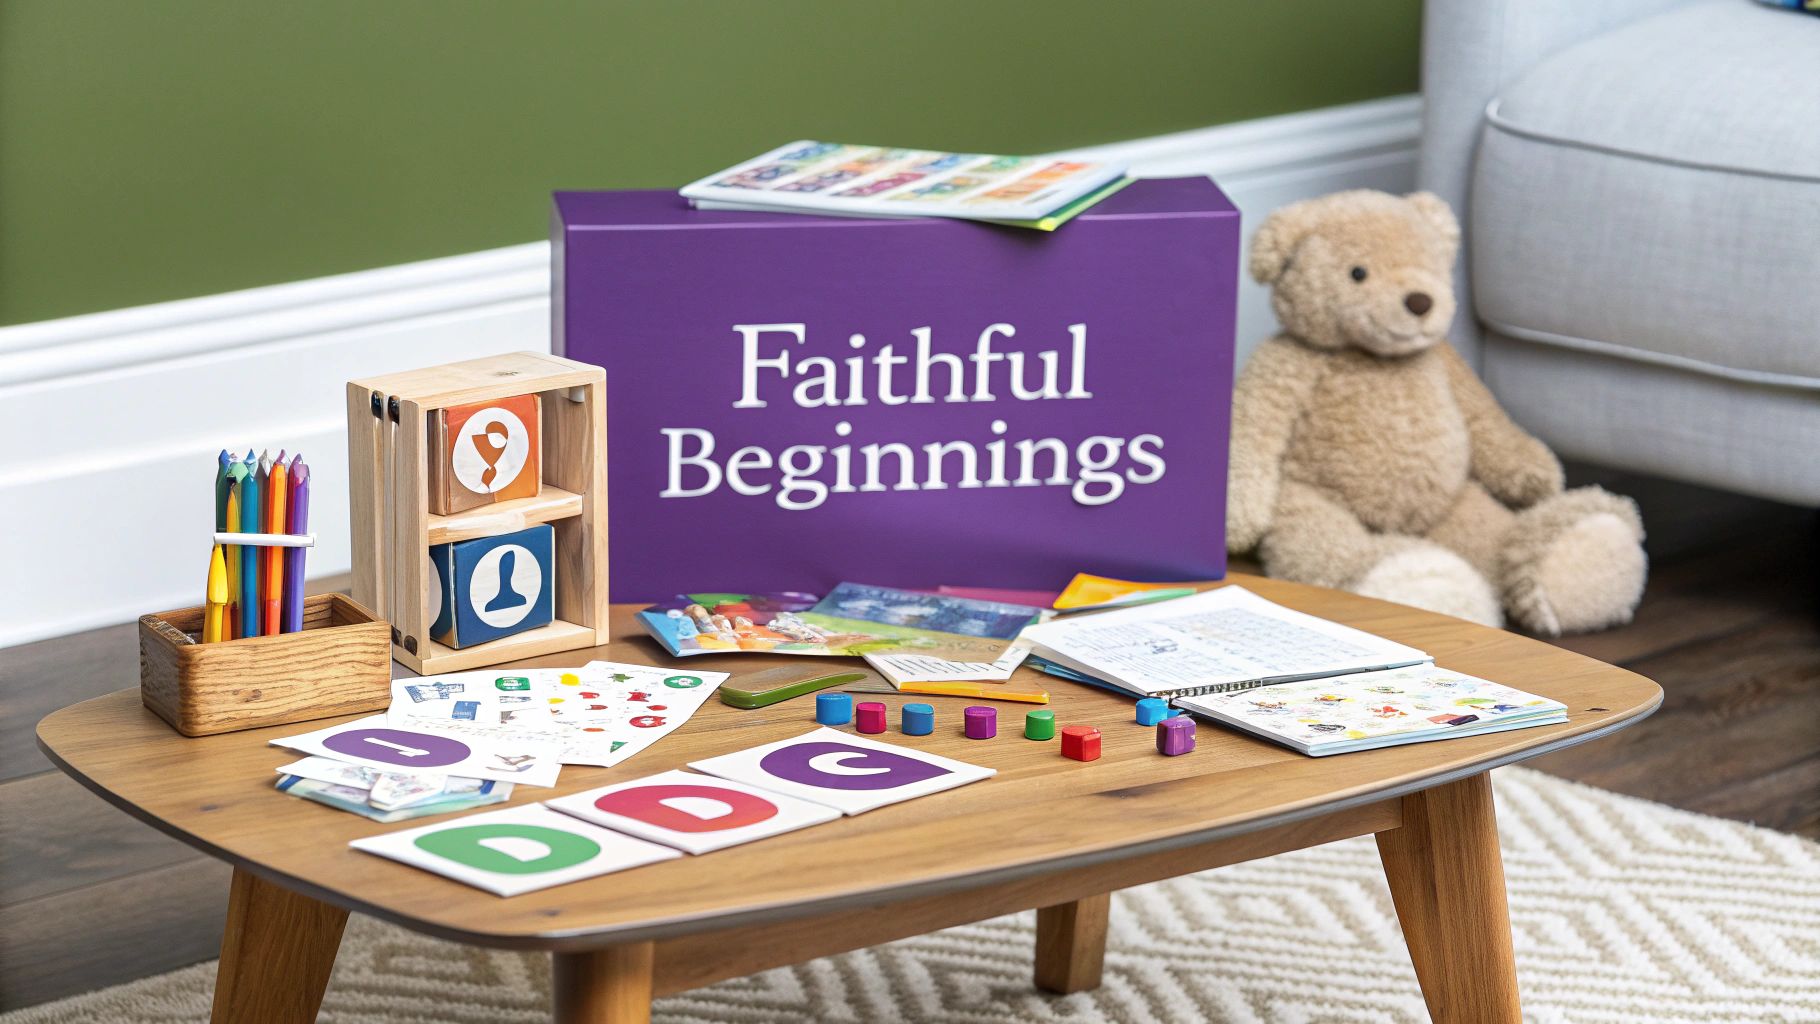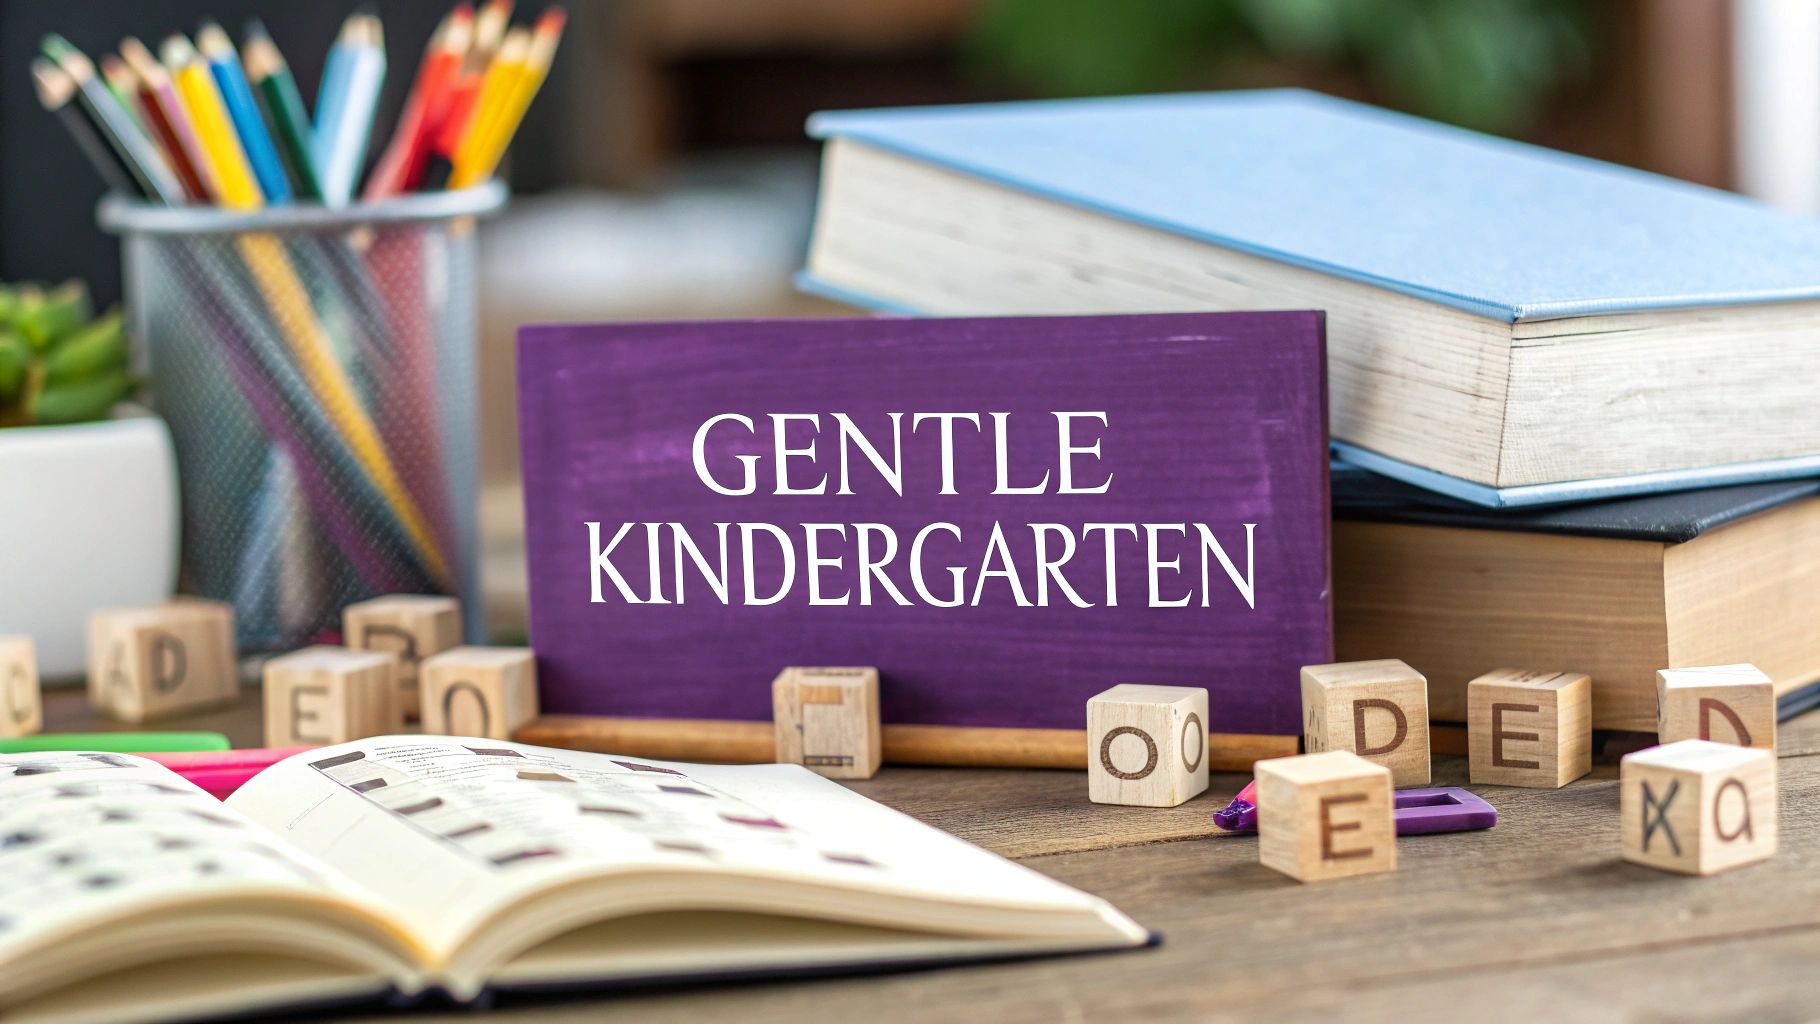
Gentle Homeschool Curriculum for Kindergarten
A gentle, Christ centered homeschool curriculum for kindergarten is less about rigid academics and more…
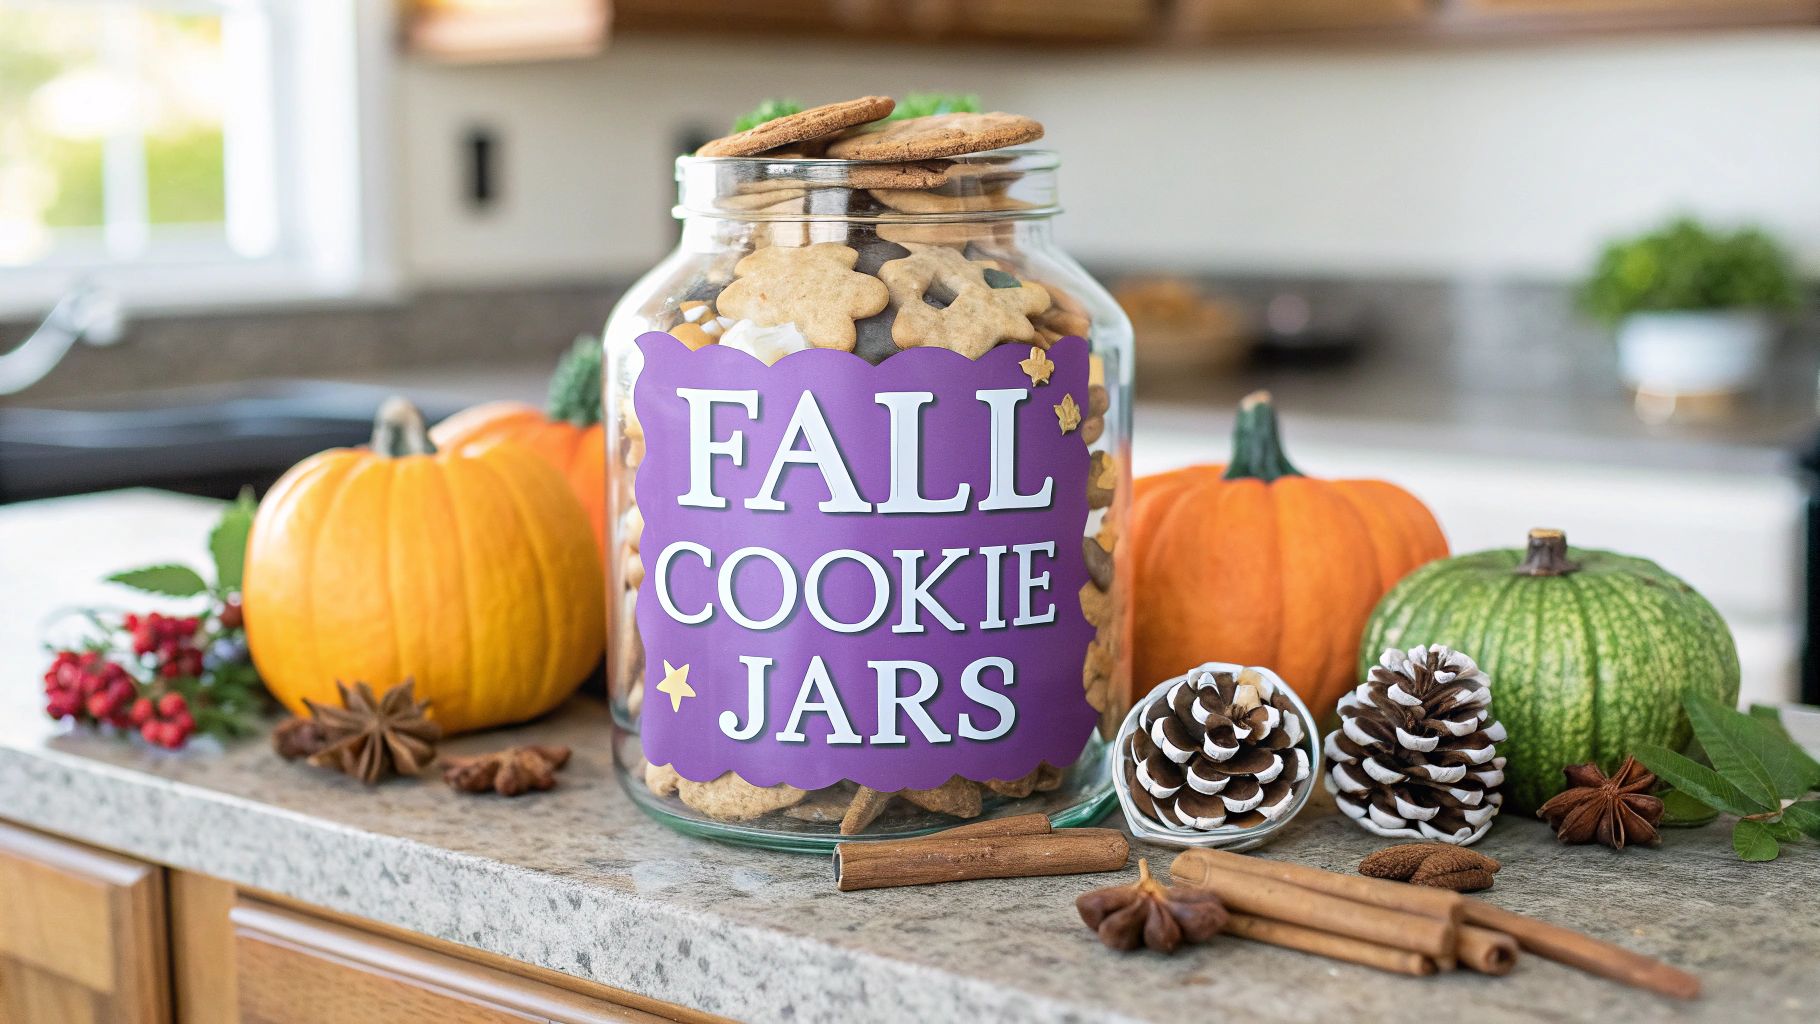
There’s just something so special about bringing the warmth and coziness of autumn into your home, isn't there? A beautifully decorated fall cookie jar does so much more than just hold treats. It can become a stunning centerpiece for your kitchen counter, a symbol of cozy family gatherings, and a source of pure joy every time you reach for a cookie.
This project is one of my absolute favorites because it's perfect for everyone, no matter your skill level or budget. It’s a wonderful way to blend the simple pleasure of crafting with the comforting tradition of home baking. I’ll walk you through how to create one from start to finish.
In this guide, you will learn everything from gathering supplies and personalizing your jar to finding the perfect autumn cookie recipes to fill it. We will also cover ideas for gifting and displaying your creation, along with answers to common questions.
A well designed cookie jar just feels like home. It brings back those warm, nostalgic feelings of simpler times and grandma’s kitchen, filled with the scent of freshly baked goodies. This love for charming containers is bigger than you might think! The global market for cookie containers, including these beautiful fall themed jars, was valued at around USD 4.3 billion in 2025. Experts even project it will grow to USD 6.3 billion by 2035, a clear sign that people truly appreciate quality and thoughtful design in their homes. You can read more about these market trends from Future Market Insights.
When you create your own, you get to tap into that lovely tradition while adding a personal touch that makes it completely, uniquely yours.
A handmade cookie jar isn’t just about storage. It’s a vessel for memories, a canvas for creativity, and a centerpiece that brings the spirit of fall to life in your home.
This project is such a wonderful way to practice simple and intentional living, focusing on creating meaningful, handmade items for your home and family.
To help you get started, I've put together a quick look at everything we'll cover in this guide.
Here is a quick summary of the topics we will cover, helping you find the sections most relevant to your interests.
| Section | What You Will Learn |
|---|---|
| Gathering Supplies | A complete checklist of crafting and baking materials needed for the project. |
| Personalization Ideas | Step by step instructions for painting, stenciling, and other creative techniques. |
| Autumn Cookie Recipes | Three easy to follow recipes for delicious cookies to fill your jar. |
| Gifting and Displaying | Tips for turning your jar into a thoughtful gift or a beautiful decor piece. |
| Common Questions | Answers to frequently asked questions about food safety, cleaning, and more. |
This table should help you jump right to the parts you’re most excited about. Let’s get started
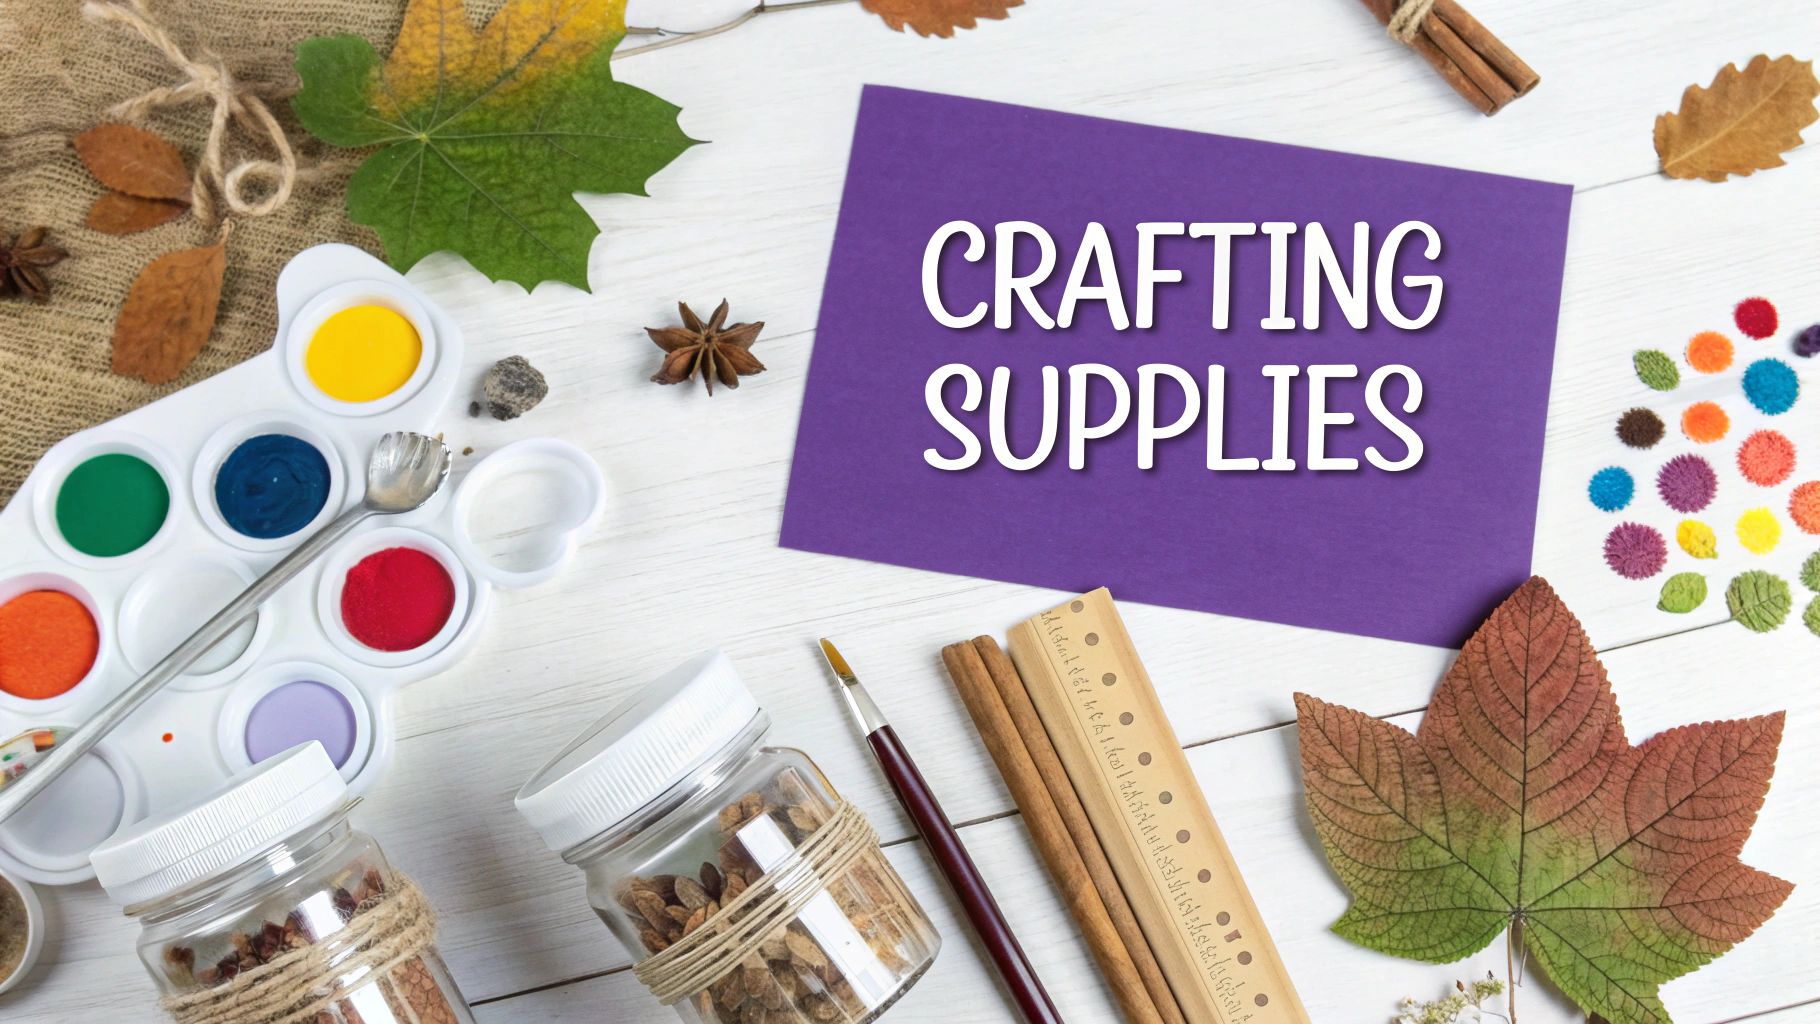
Before you jump into the fun part, I always find it helps to take a few minutes to gather all your supplies. It’s a little step that makes the whole process so much smoother and more enjoyable. Having everything laid out and ready to go turns what could be a frantic search for supplies into a peaceful, cozy afternoon of creating.
The heart of this project, of course, is the jar itself. You’ve got a few wonderful options here, and each one brings its own unique feel to your finished cookie jars.
Once you’ve picked out your jar, it's time to gather the goodies that will bring that special autumn magic. You don't need to be a professional artist to get a beautiful result; a few simple items can create something truly stunning. Just think warm colors, natural textures, and all those classic fall motifs.
I find it so helpful to use a checklist to keep everything organized. If you’re looking for more ways to get your home set up for creative projects, this comprehensive homemaking checklist has some wonderful ideas. https://motherhoodandhomemaking.com/homemaking-checklist/
Here are the core supplies I recommend for your decorating toolkit:
Remember, the goal is to create something that feels personal and brings you joy. You can find most of these supplies at a local craft store, but don't forget to check the dollar store, too. They often have hidden gems!
To really take your fall cookie jars to the next level, I love adding elements that appeal to more than just sight. Weaving in natural and fragrant items makes your creation feel so much more special and cozy. This is where you can get really creative and add those unique, personal details.
For example, you could use your hot glue gun to attach a few cinnamon sticks around the rim of the lid. They’ll release the most wonderful, gentle spice aroma every time it’s opened. Another idea I love is tying a small bundle of dried wheat or a few faux autumn leaves into the twine bow.
These little details work together to create a truly sensory autumn experience, turning a simple jar into a cherished piece of your seasonal decor.
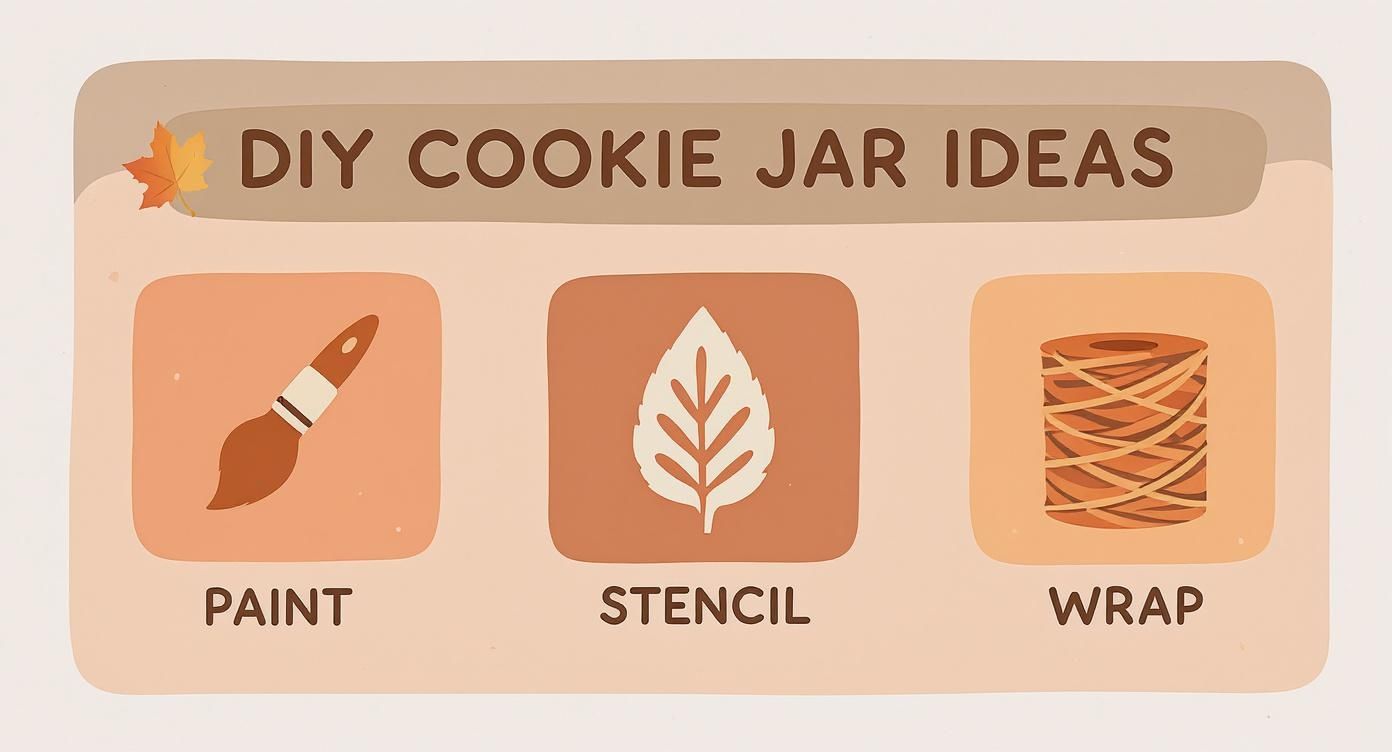
Alright, you've got your supplies, and now for the fun part! This is where a plain old jar starts its transformation into a piece of fall decor you'll actually love. The sky's the limit when it comes to personalizing your cookie jars, from painting intricate designs to adding simple, rustic touches.
And don't worry if you don't consider yourself an "artist." I promise, many of these ideas are incredibly forgiving and designed to look beautiful no matter your skill level. The whole point is to have fun with it and make something that feels like you.
Paint is probably the most versatile way to dress up a jar. With just a handful of acrylic paint colors, you can whip up all sorts of designs that just scream "autumn."
Before you even dip a brush in paint, make sure your jar is completely clean and dry. I always give glass surfaces a quick wipe with rubbing alcohol. It really helps the paint stick and makes your design last.
Did you know the humble cookie jar has a rich history? They first became popular in the U.S. around 1929 during the Great Depression. Early versions were just simple glass with metal lids, but by the mid 1930s, makers switched to ceramic, allowing for more artistic designs like leaves and flowers. You can learn more about the history of these charming containers from The Antiques Almanac.
If freehand painting sounds a little intimidating, stencils are your best friend. They're a fantastic way to get clean, professional looking designs on your fall cookie jars with hardly any effort.
First, secure your stencil to the jar with a bit of painter's tape so it doesn't slip around. Then, grab a foam pouncer or a small brush and gently dab the paint onto the stencil. I've learned it's best to apply a few thin, even layers. This keeps the paint from bleeding under the edges.
Some of my favorite stencil designs for autumn are:
Once you're done painting, carefully lift the stencil off while the paint is still a little wet. This is the key to getting a perfectly crisp outline.
Painting isn't the only way to go! If you're leaning more towards a textured, farmhouse inspired look, there are several no paint options that are just as beautiful. These are also great if you like to switch up your decor with the seasons.
One of the easiest ideas is to wrap a wide band of burlap ribbon around the jar, using a hot glue gun to hold it in place. Then, tie a piece of natural twine around the burlap and finish it with a simple bow. It creates a rustic, layered look that feels so cozy.
Another technique I love is decoupage. You can find gorgeous fall themed paper napkins at most craft stores. Just separate the printed top layer, cut out your favorite designs, and apply them to the jar with a thin coat of decoupage glue.
Making fall cookie jars is such a great project to do with kids. It’s a wonderful way to make some sweet memories together while creating something special for your home.
For a completely mess free afternoon, seasonal stickers are perfect. Let your little ones pick out their favorite pumpkins, leaves, and friendly scarecrows to decorate their own jar. It's such an easy way for them to feel involved and be proud of what they made.
Another great option is to use non toxic, washable markers made for glass or ceramic. Kids can draw their own autumn scenes right onto the jar. The best part? Many of them wipe right off, so they can create a whole new masterpiece whenever inspiration strikes.
A beautifully decorated jar is only half the story, isn't it? The real magic happens when you lift the lid and that warm, inviting aroma of homemade cookies hits you. Filling your fall cookie jars with the perfect seasonal treats is what completes the experience, turning your craft project into a true centerpiece of autumn comfort.
The recipes I'm sharing here were chosen for more than just their incredible fall flavors. I picked them because they hold up wonderfully in a cookie jar. They stay fresh and delicious, making them perfect for keeping on your own kitchen counter or for giving as a thoughtful, handmade gift.
Alright, let’s get baking.
Nothing says autumn quite like pumpkin spice. These cookies are wonderfully soft and almost cakelike, with a perfect balance of warming spices that will make your whole house smell amazing. They are an absolute must have for any fall cookie jar.
Ingredients You’ll Need:
Baking Instructions:
First things first, preheat your oven to 350°F (175°C) and get a baking sheet lined with parchment paper. In a large bowl, mix the pumpkin puree, sugar, oil, and egg until they’re all well combined.
In a separate bowl, whisk together the flour, baking powder, cinnamon, baking soda, ginger, nutmeg, and salt. Now, gradually add these dry ingredients to your wet ingredients, mixing just until everything comes together. Be careful not to overmix!
Drop rounded tablespoons of the dough onto your prepared baking sheet. Pop them in the oven and bake for 15 to 18 minutes, or until the edges are just lightly golden. Let them cool on the baking sheet for a few minutes before moving them to a wire rack.
A Little Tip: For an extra touch of sweetness, whip up a simple cream cheese frosting to spread on top once the cookies have cooled completely. It pairs beautifully with the pumpkin spice flavor and takes these cookies to the next level.
If you're looking for a timeless cookie with a comforting, chewy texture, these oatmeal cinnamon cookies are the answer. They're hearty, subtly spiced, and incredibly satisfying. They are a wonderful, classic addition to your fall cookie jars.
Ingredients You’ll Need:
Baking Instructions:
Start by preheating your oven to 350°F (175°C). In a mixing bowl, cream together the softened butter, brown sugar, and granulated sugar until the mixture is light and fluffy. Beat in the eggs one at a time, then stir in the vanilla extract.
In another bowl, combine the flour, cinnamon, baking soda, and salt. Slowly add this dry mixture to your butter mixture, mixing on low speed until it’s just incorporated. Finally, stir in the rolled oats.
Drop spoonfuls of dough onto an ungreased cookie sheet. Bake for about 10 to 12 minutes, until the edges are golden brown. Let them cool on the sheet for a moment before moving them over to a wire rack to cool the rest of the way. For a delicious variation, try adding a cup of chocolate chips or toasted pecans to the dough!
These cookies are as beautiful as they are delicious. The rich, buttery flavor of shortbread gets a cozy update from brown sugar, and cutting them into leaf shapes makes them the perfect festive filler for your cookie jar.
Ingredients You’ll Need:
Baking Instructions:
In a large bowl, cream the softened butter and brown sugar together until the mixture is completely smooth. Add the salt, and then gradually mix in the flour on low speed until a soft dough forms.
Shape the dough into a disk, wrap it in plastic wrap, and chill it in the refrigerator for at least 30 minutes. This step is crucial, so don't skip it! It makes the dough so much easier to roll out.
Preheat your oven to 325°F (165°C). On a lightly floured surface, roll the chilled dough to about 1/4 inch thickness. Use leaf shaped cookie cutters to cut out your cookies and place them on an ungreased baking sheet.
Bake for 12 to 15 minutes, or until the edges are just beginning to turn a light golden brown. Let them cool completely on a wire rack before you carefully place them in your beautiful fall cookie jars.
Deciding which cookie to bake can be the hardest part! To help you choose, here's a quick look at how our three featured recipes stack up against each other.
| Cookie Type | Primary Flavor | Difficulty Level | Approximate Bake Time |
|---|---|---|---|
| Pumpkin Spice Cookies | Pumpkin, Cinnamon, Nutmeg | Easy | 15 to 18 minutes |
| Oatmeal Cinnamon Cookies | Brown Sugar, Cinnamon, Oat | Easy | 10 to 12 minutes |
| Shortbread Leaf Cookies | Brown Sugar, Butter | Medium (requires chilling) | 12 to 15 minutes |
Whether you're after the quintessential taste of pumpkin, the comforting chew of oatmeal, or the buttery snap of shortbread, there’s a perfect cookie here for your project. Honestly, you can't go wrong with any of them
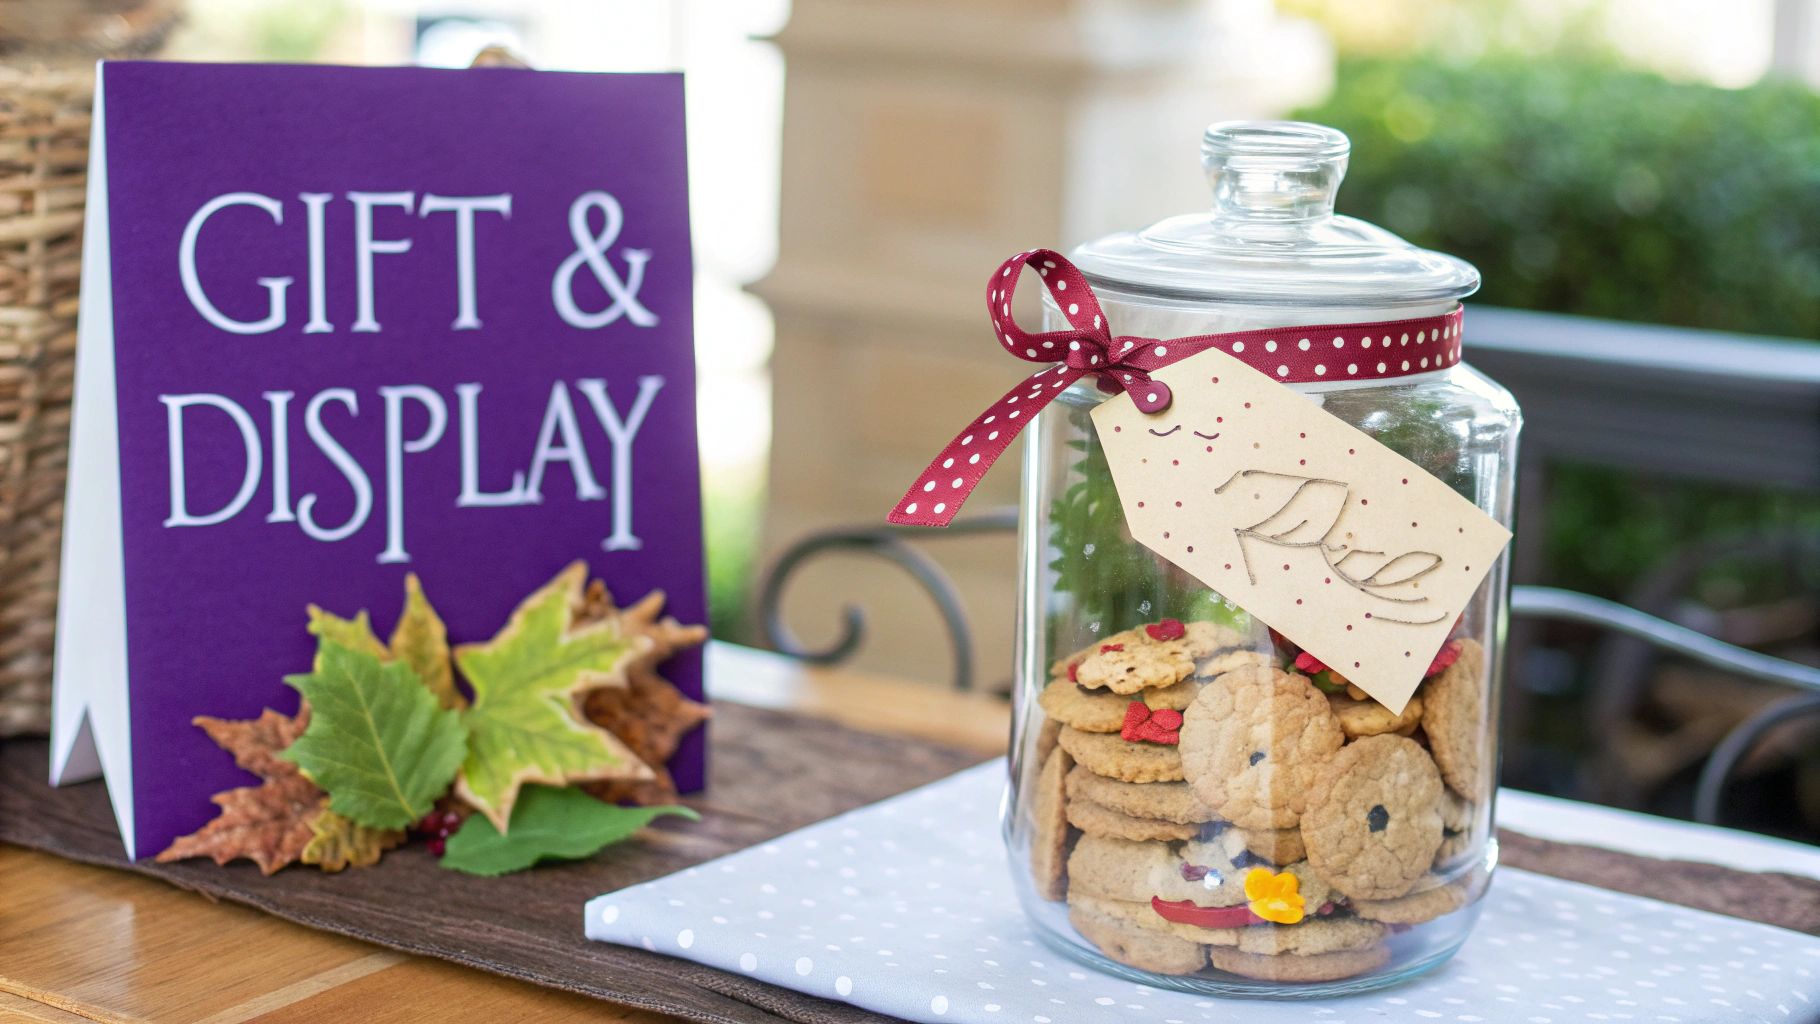
Once your fall cookie jar is all dressed up and filled with delicious homemade treats, it’s ready for its moment to shine. The final step is all about presentation, whether you're giving it as a heartfelt gift or showcasing it as a charming piece of your seasonal home decor. A little thoughtful styling can take your project from a simple craft to a memorable centerpiece.
This tradition of sharing homemade baked goods is more popular than ever. The global cookies market was valued at an impressive USD 43.1 billion in 2025 and is projected to hit USD 72.3 billion by 2035. A big part of this growth comes from seasonal baking traditions tied to holidays like Thanksgiving, where a gift like a fall cookie jar is especially cherished. You can discover more insights about the expanding cookie market from Global Market Insights.
A handmade cookie jar is one of the most personal and thoughtful gifts you can give. It shows care, effort, and a whole lot of sweetness. To make your gift feel truly special, I love to focus on the finishing touches that pull everything together into a beautiful package.
These small details transform your creation into an unforgettable present that feels both polished and deeply personal.
A handmade gift carries a unique warmth that store bought items often lack. By wrapping your fall cookie jar with care, you’re not just giving cookies. You’re sharing a piece of your heart and home.
Your finished cookie jar is also a fantastic piece of seasonal decor, capable of adding a cozy, inviting feel to any room. Instead of just setting it on the counter, think about how you can integrate it into your existing autumn decorations to create a cohesive and charming display. Styling it thoughtfully helps our home feel more organized and intentional. For more ideas on creating a tidy and beautiful space, check out our guide on how to organize your home https://motherhoodandhomemaking.com/organize-your-home/.
Here are a few of my favorite ways to display a fall cookie jar:
As you’re putting the finishing touches on your beautiful project, a few questions might pop up. It’s completely normal! From keeping your design pristine to ensuring everything is safe for your family, let's walk through some common thoughts about creating and caring for DIY fall cookie jars. Getting these details right is what turns a fun craft into a treasured keepsake you can enjoy all season long.
This is one of the most important questions, and thankfully, the answer is simple. The key to food safety is to only paint the exterior surfaces of your jar. You never want to apply paint or sealant to the inside of the jar where it will come into direct contact with your cookies.
I also make sure to avoid painting the rim of the jar or any part of the lid that creates a seal. When you’re ready to use a spray sealant for durability, apply it only to the outside and always in a well ventilated area. Let it cure completely according to the manufacturer's directions before you even think about filling it with treats.
For an extra layer of protection and total peace of mind, you can place your cookies inside a food safe cellophane or parchment bag first. Then, just slide the bag into your beautifully decorated jar. This keeps the cookies fresh while ensuring your artistic creation remains purely decorative.
To protect all your beautiful handiwork, gentle hand washing is the only way to go. You’ll want to steer clear of any cleaning methods that could damage your decorations, which is crucial for making your fall cookie jars last for many autumns to come.
Here are a few specific cleaning tips I always follow:
Absolutely! You don't need to buy an expensive new container to create a stunning fall cookie jar. In fact, some of the most charming projects I’ve seen come from using materials that are budget friendly or repurposed. This approach is not only economical but also wonderfully sustainable.
For example, you can often find large glass jars perfect for this project at your local thrift store or dollar store for just a few dollars. These are fantastic blank canvases just waiting for your creative touch.
Another great idea is to repurpose containers you already have at home. Large glass jars from things like pickles or pasta sauce work wonderfully once they've been cleaned and deodorized thoroughly. Just soak them in hot, soapy water to remove the label and any lingering smells.
To complete your project on a budget, look to nature for your decorations. Using natural elements like pressed leaves, small twigs, or acorns is a wonderful way to add an authentic autumn touch without spending a dime.
At Motherhood and Homemaking, we believe in creating a home filled with love, joy, and meaningful traditions. Find more simple DIY projects, heartfelt encouragement, and practical resources to help you build a Christ-centered home.